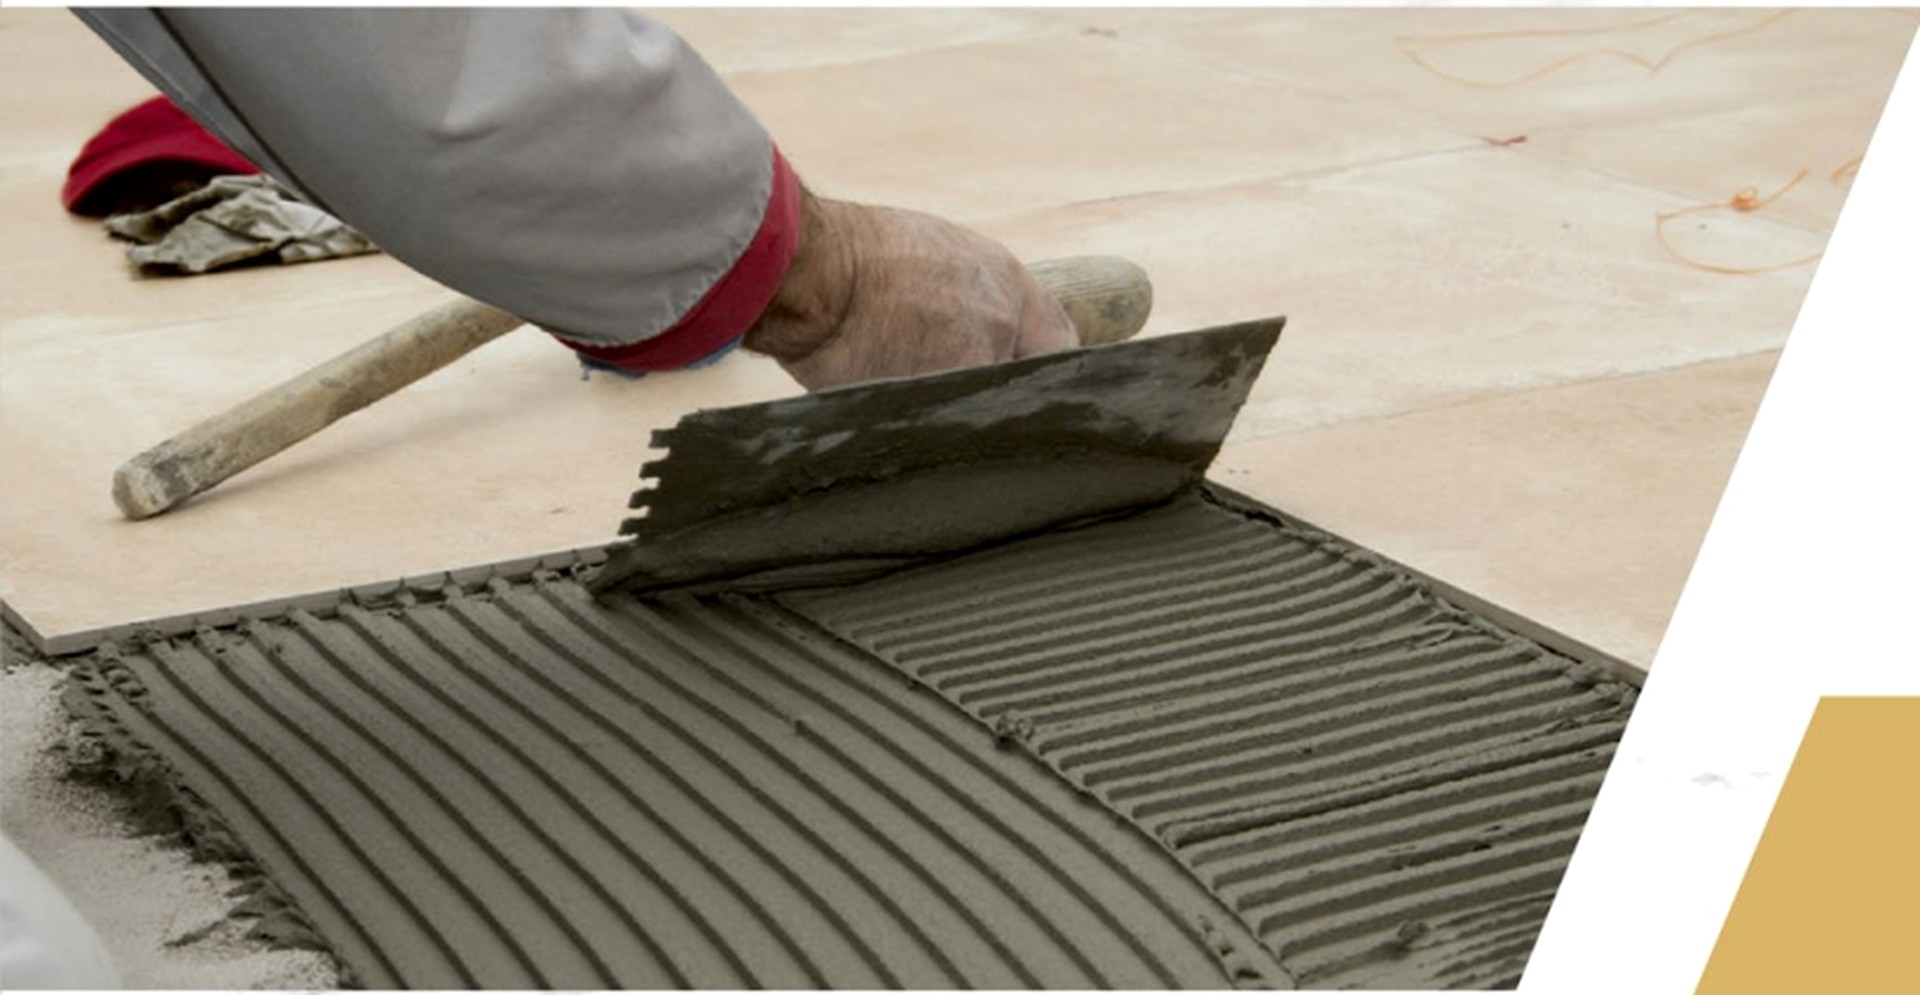
Applying tile adhesive with a notched trowel

Plan. Prepare. Fix.

How Tile Adhesive Works

A practical installation process for strong bonding, accurate tile alignment, and a lasting finish.

Before Installation

Plan the Tile, Surface, and Application Together

The correct adhesive depends on the tile material and size, the substrate, whether the area is indoors or outdoors, and exposure to water, heat, or heavy traffic.

Check the Gripton product instructions before work begins. Confirm the recommended application, water ratio, pot life, open time, bed thickness, and curing period for the selected grade.

Tile

Identify the tile type, size, weight, and back profile.

Surface

Check strength, flatness, movement, porosity, and moisture.

Location

Plan for wall or floor, interior or exterior, and wet or dry use.

Tools

Select the correct notched trowel, spacers, level, mixer, and clean buckets.

Installation Process

Seven Steps for Reliable Tile Fixing

Work in manageable areas and follow the selected adhesive’s product instructions throughout the installation.

01

Inspect and Prepare the Substrate

The base must be sound, stable, properly cured, and sufficiently flat. Remove dust, laitance, oil, grease, wax, paint, loose material, and other bond breakers. Repair cracks or uneven areas and apply the correct primer or waterproofing system where required.

02

Set Out the Tile Layout

Measure the area, establish straight reference lines, and dry-plan the layout. Balance perimeter cuts and identify movement, perimeter, and service joints before spreading adhesive.

03

Measure and Mix Correctly

Use clean tools and the exact clean-water quantity stated on the Gripton bag. Add powder as directed and mix at low speed until smooth and lump-free. Observe any required resting time, remix briefly, and never add extra water after the mix begins to set.

04

Key In and Comb the Adhesive

Use the flat side of the trowel to press a thin contact coat onto the substrate. Immediately comb additional adhesive with the correct notched side, forming straight, even ridges in one direction. Spread only as much as can be tiled within the adhesive’s open time.

05

Back-Butter When Required

Apply a thin coat to the tile back for large-format tile, natural stone, exterior, wet, highly loaded, or uneven-backed applications. Comb in the same direction as the substrate so air can escape when the tile is placed.

06

Place, Press, and Check Coverage

Set the tile while the adhesive is fresh. Move it across the ridges and press firmly to collapse them. Use spacers and a level to maintain joint width and alignment. Lift an occasional tile to confirm adequate, continuous adhesive transfer without harmful voids.

07

Clean, Cure, and Grout

Remove adhesive from joints and tile faces while fresh, then protect the installation from traffic, water, rain, direct sun, or rapid drying. Grout only after the adhesive has cured for the period stated on the product instructions, and keep movement joints free for a suitable flexible sealant.

Quality Checks

Check the Work as You Progress

  • Adhesive remains fresh and has not formed a surface skin.
  • Trowel ridges are straight, even, and suited to the tile format.
  • Tile backs show sufficient adhesive transfer for the application.
  • Joints remain clean, consistent, and ready for grouting.
  • Finished tiles stay flat, aligned, and protected during curing.

Avoid Common Problems

Do Not Compromise the Bond

  • Do not install over dusty, weak, oily, unstable, or unsuitable surfaces.
  • Do not guess the water ratio or retemper stiffening adhesive with water.
  • Do not spread more adhesive than can be covered within its open time.
  • Do not place tiles after a dry skin has formed on the adhesive.
  • Do not start grouting or traffic before the adhesive has adequately cured.

Product Instructions Come First

Use the Gripton Grade Specified for Your Tile and Site Conditions

Installation conditions vary. Always follow the current Gripton bag instructions and obtain technical guidance for unusual substrates, large-format tile, exterior work, wet areas, or demanding applications.